Turning Worms on a Lathe
Repurposing a section of threaded steel rod to create a worm for an astrophotography tracking mount's gearing.

Happy Valentine's Day! This is the second part of a three-part series on machining worm gears for equatorial mounts. In case you haven't read it yet, here's my previous blog post on gear calculations using the Machinery's Handbook. This is what I'll be using as a starting point for the next two posts.
Background
Instead of going through the hassle of threading a rod yourself using auto-feed on a lathe, it's possible to repurpose an existing length of threaded rod into a worm.
By the way, making your own threading with auto-feed is totally a valid (and likely better) approach — I just don't have auto-feed on the lathe I'm using at school and needed to get a little scrappy to push forward with this project. Hopefully this guide can help others who might me in a similar situation to me, but still really want to do deep-sky astrophotography.
It's crucial to ensure the threading is of high quality and concentric with the central axis of the rod. You can take a few single thou passes to touch up the outer edge of the threading if need-be. The rod's TPI (threads per inch) or axial pitch is directly tied to the diameter of the corresponding worm gear that we'll be machining later. In this case, since we've already done our calculations, I simply went with a threaded rod of 3/4"-16 that perfectly matches the selected tap/hob.
Fabrication Process
At a high-level, I machined both worms for the RA and DEC axis assemblies in four steps using a carbide cutter and a section of threaded steel rod on a lathe:
- Mounting the workpiece (and adding tail support)
- Turning a short 0.25" outer-diameter on one side of the worm
- Turning a long 0.25" outer-diameter on the other side of the worm
- Turning an additional 5mm outer-diameter on the longer 0.25" side
I used a mix of metric and imperial units solely for cost-saving purposes — the 3:1 reduction gears I purchased have a 5mm inner-bore, while the bearings I bought to mount the worms have a 0.25" inner-bore. While machining, I measured all of the diameters using a micrometer to ensure accuracy within a single thousandth of an inch (aka 'thou').
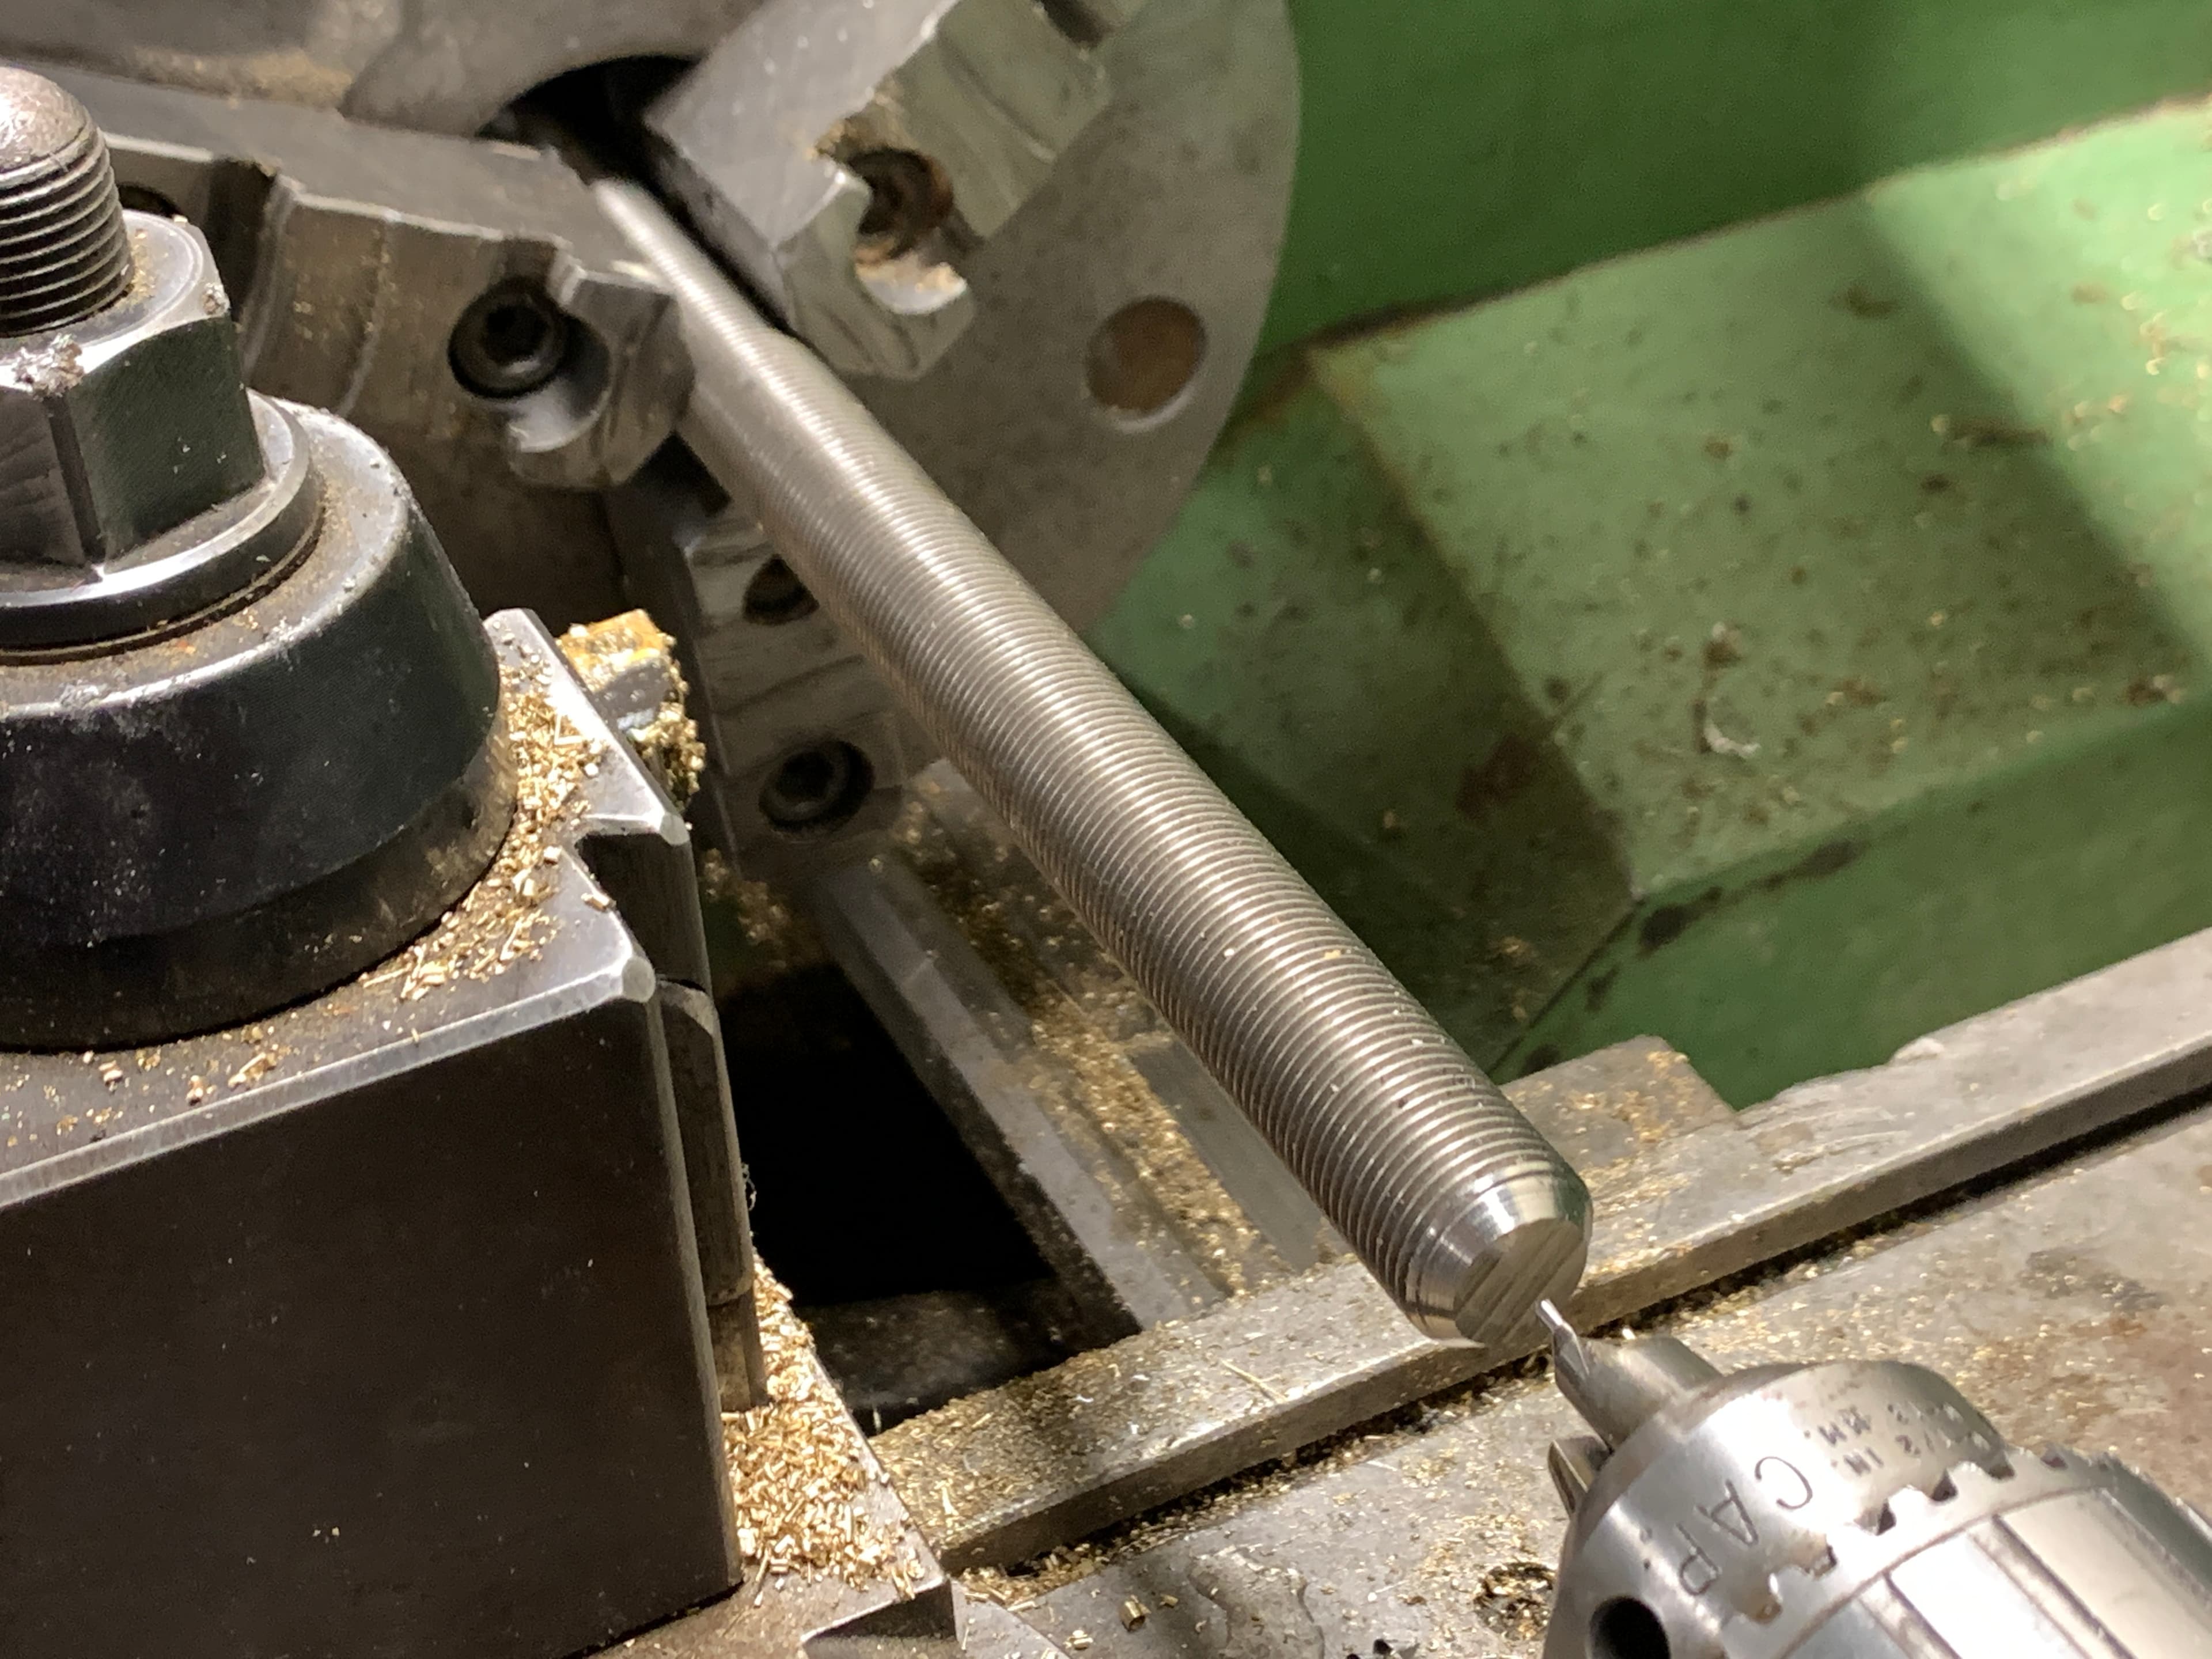
1. Mounting the Workpiece
I mounted the threaded rod in the lathe's 3-jaw chuck and added tail support to prevent the rod from bending while I was machining.

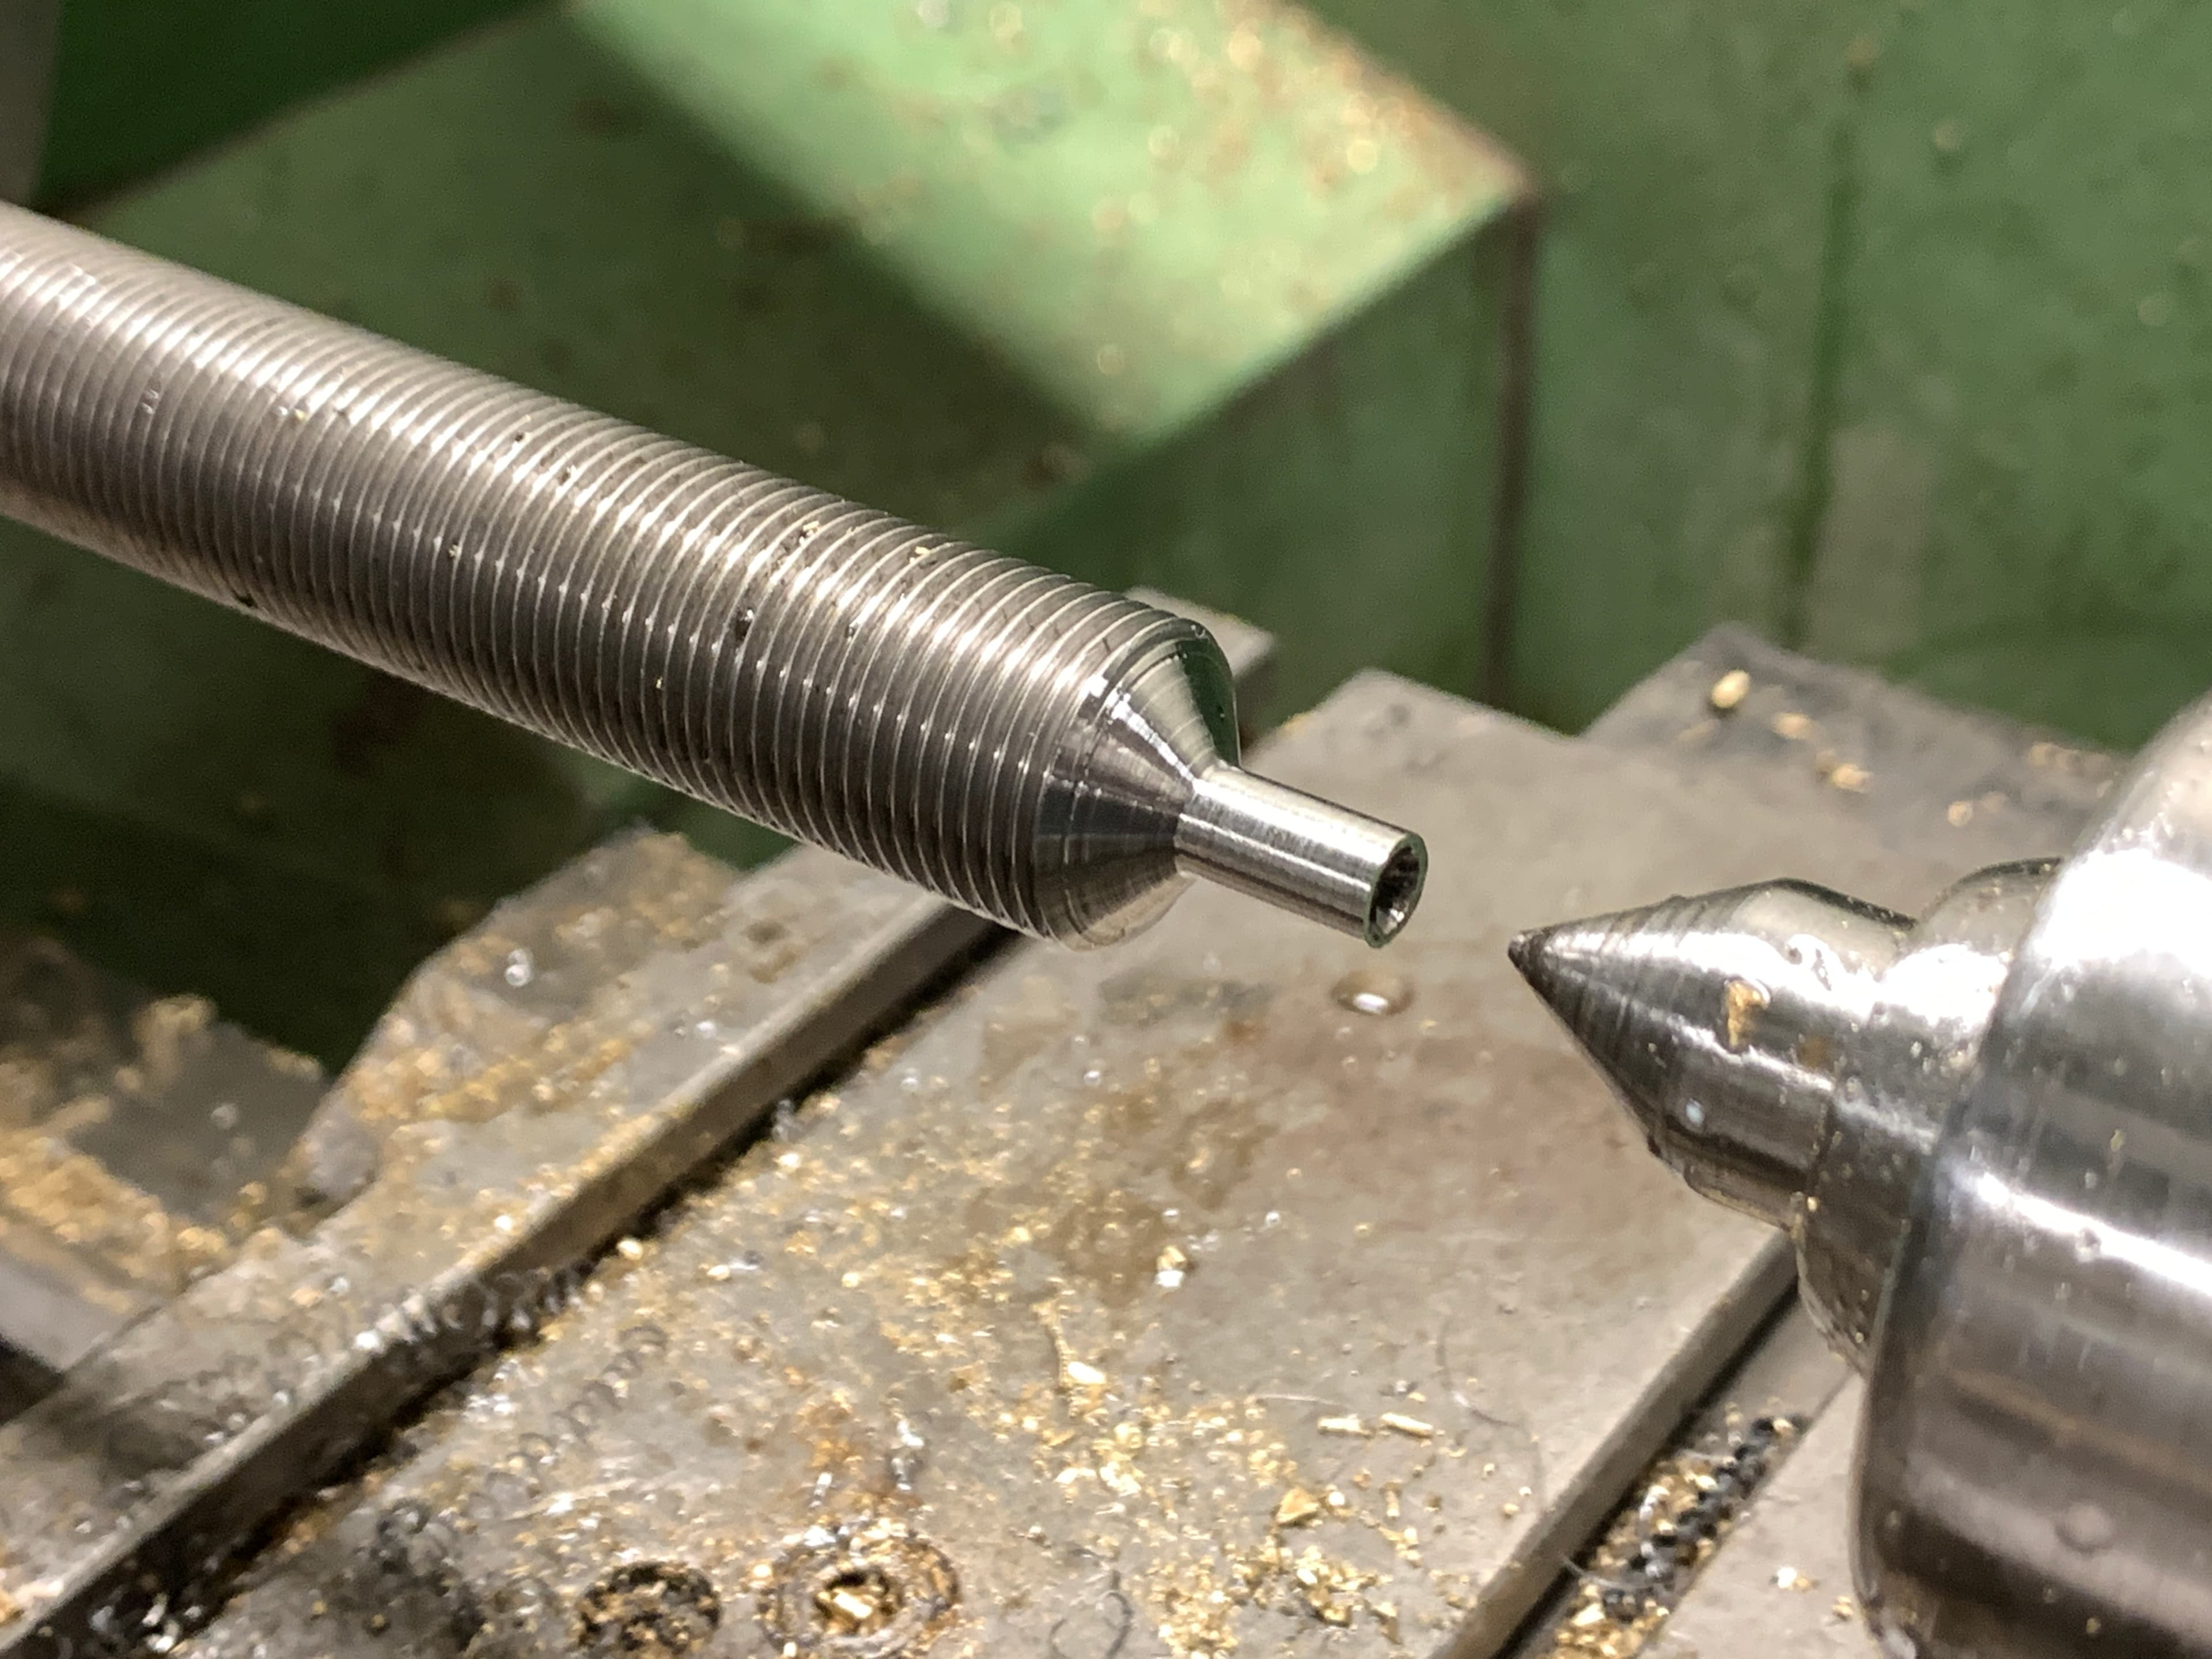
2. Short 0.25" Outer-Diameter
Next, I turned one side of the worm down to a 0.25" outer-diameter in order to match the inner-diameter of the bearings I'm going to use for mounting. I used multiple 5 thou passes as rough cuts and a single 1 thou pass to finish. Conveniently, the angled shape of the carbide bit resulted in a nice chamfer on the edge of the worm.

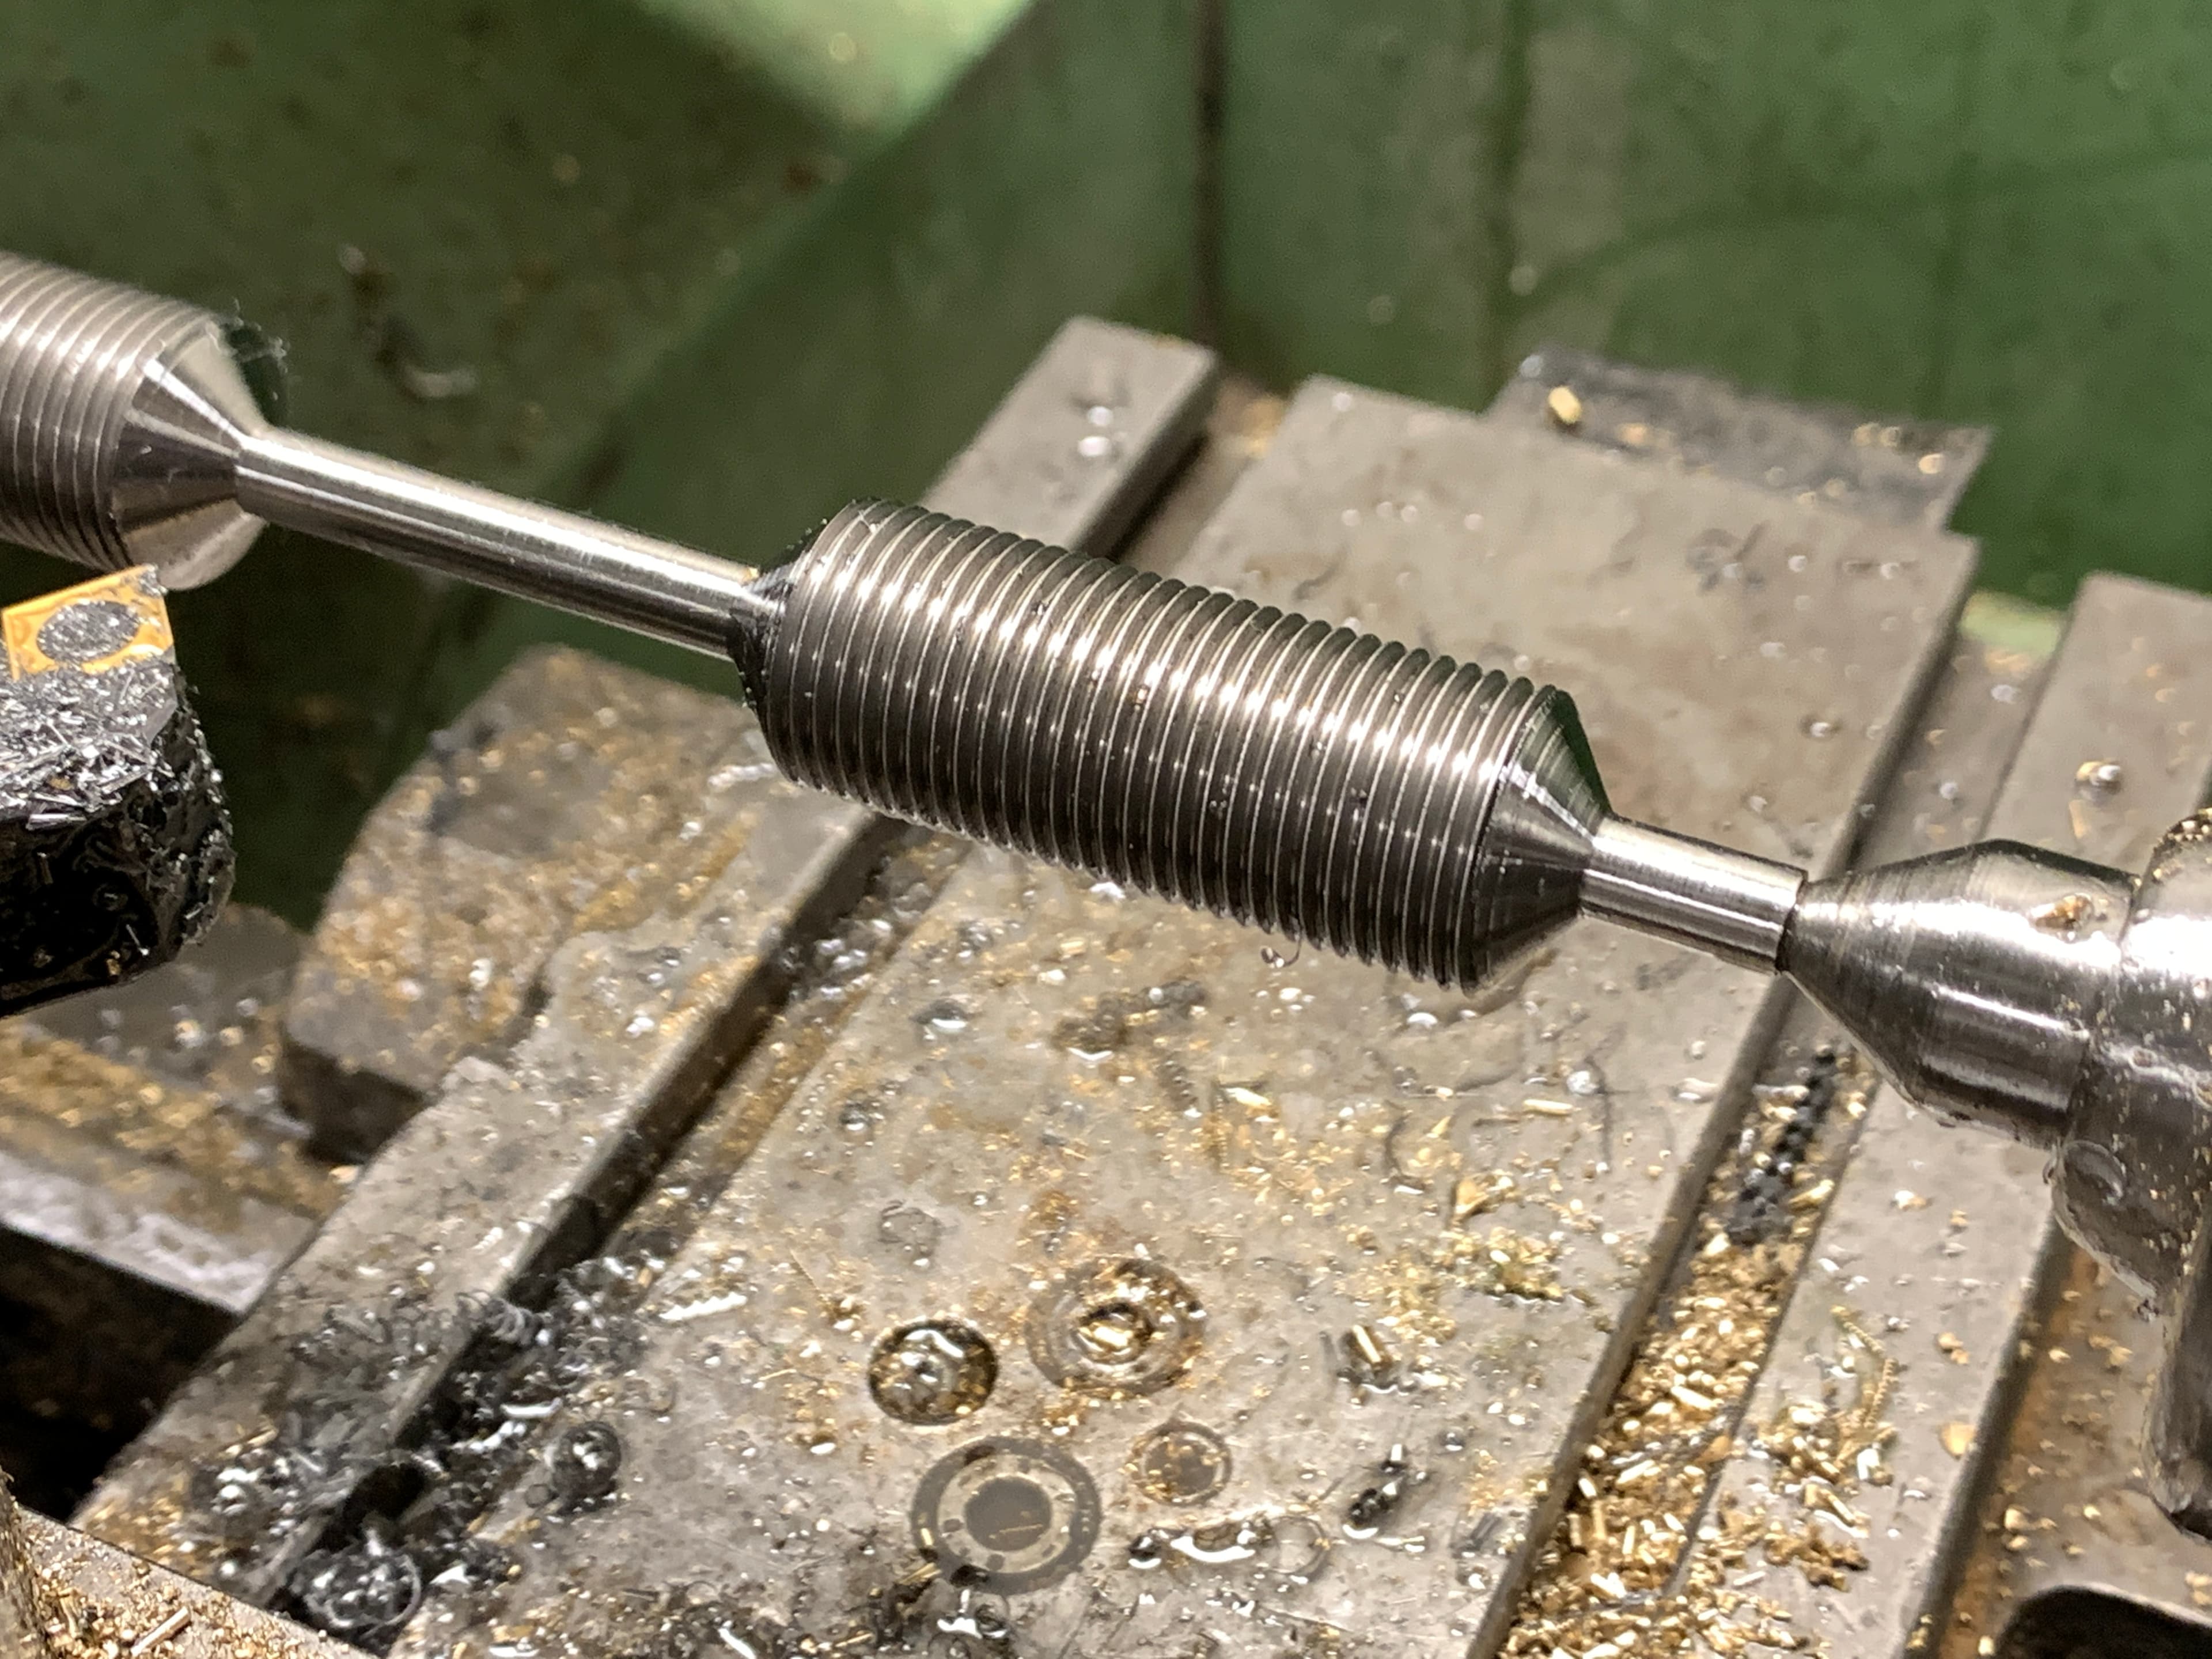
3. Long 0.25" Outer-Diameter
I then turned the threaded rod down to 0.25" on the other side, but with a much longer length. This is the side I plan to also attach a set of 3:1 reduction gears to, hence the extra length. Like before, I used multiple 5 thou passes in the beginning followed by a couple 1 thou passes. At this point things will get pretty hot, so definitely make sure to use liberal amounts of cutting fluid since temperature can significantly affect the quality of your cuts.

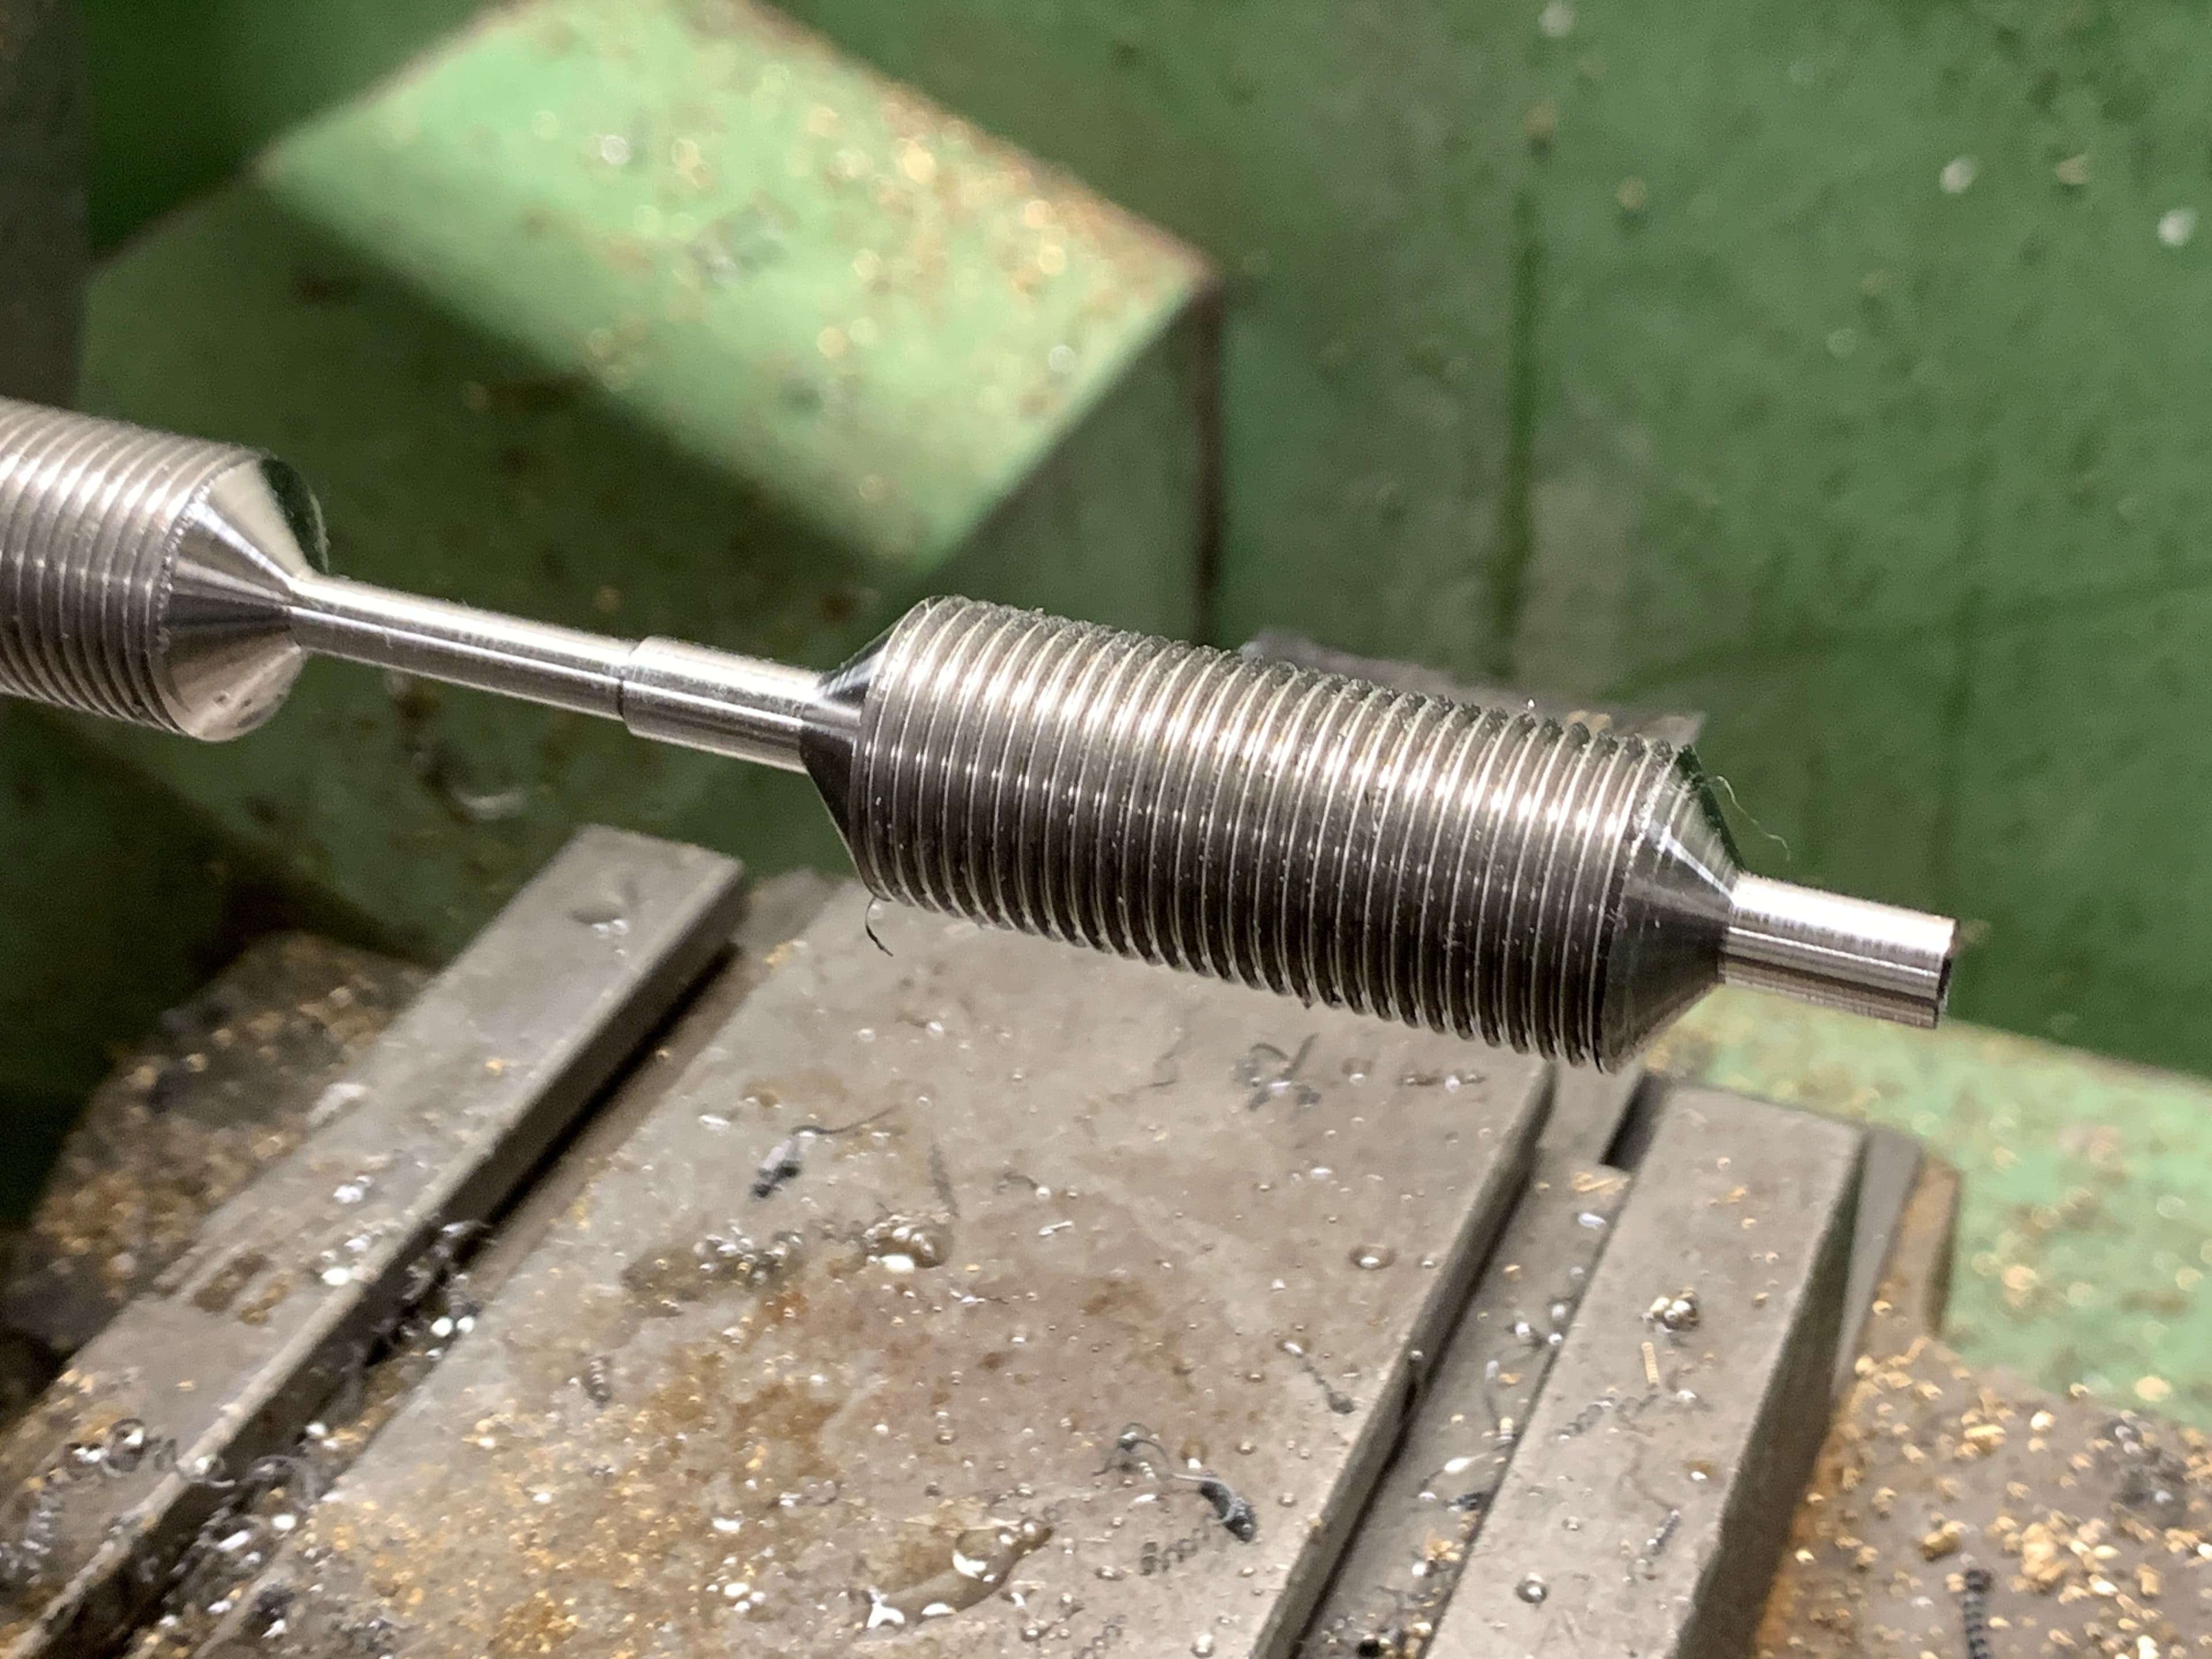
4. Additional 5mm Outer-Diameter
Finally, I turned a portion of the longer 0.25" side down to 5mm in order to match the inner-diameter of the 3:1 reduction gears I'll use to further smooth out the mount's tracking.

Conclusion
After repeating this process one more time and then separating the two worms from the workpiece using a horizontal bandsaw, I was able to successfully fabricate both worms for the RA and DEC axis assemblies. Although you might get a more perfect result using auto-feed on a lathe to machine your own threading, this approach will also work when you might not have all the necessary tools.
The next blog post will cover the most fun (and critical) part of this project: machining the worm gears themselves. See you then!